Easy Gluten Free Breads You Can Make at Home
Discover how to bake delicious gluten free breads at home with these 6 simple recipes. Perfect for beginners, these easy-to-follow recipes guarantee fresh, homemade results every time
Have you ever bitten into a slice of gluten-free bread and immediately regretted it? That dry, crumbly texture that disintegrates in your mouth, or worse—that dense, gummy interior that feels like you’re eating wet sand? If you’ve been living with celiac disease or gluten sensitivity, you know this frustration all too well.
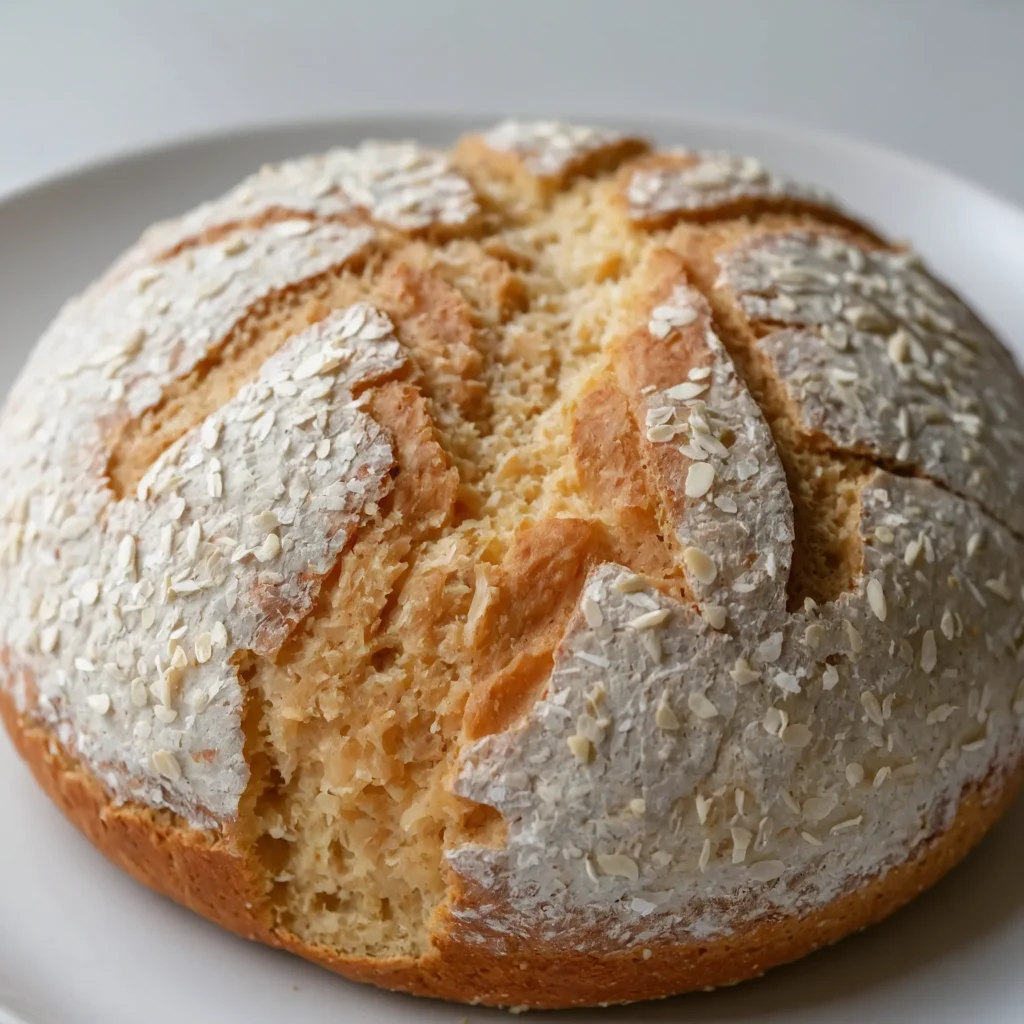
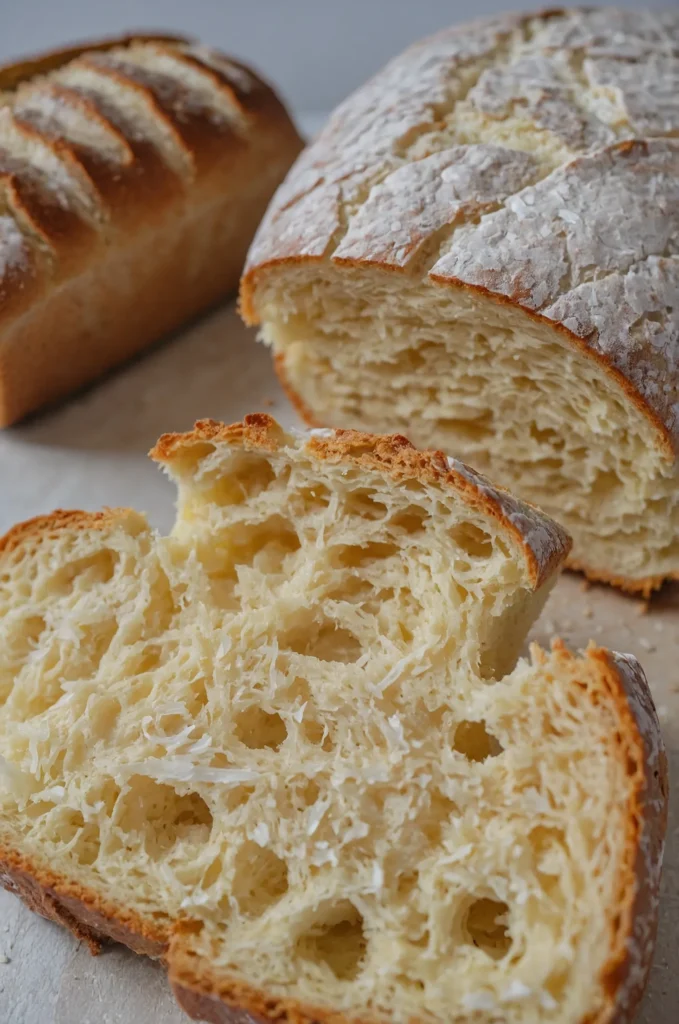
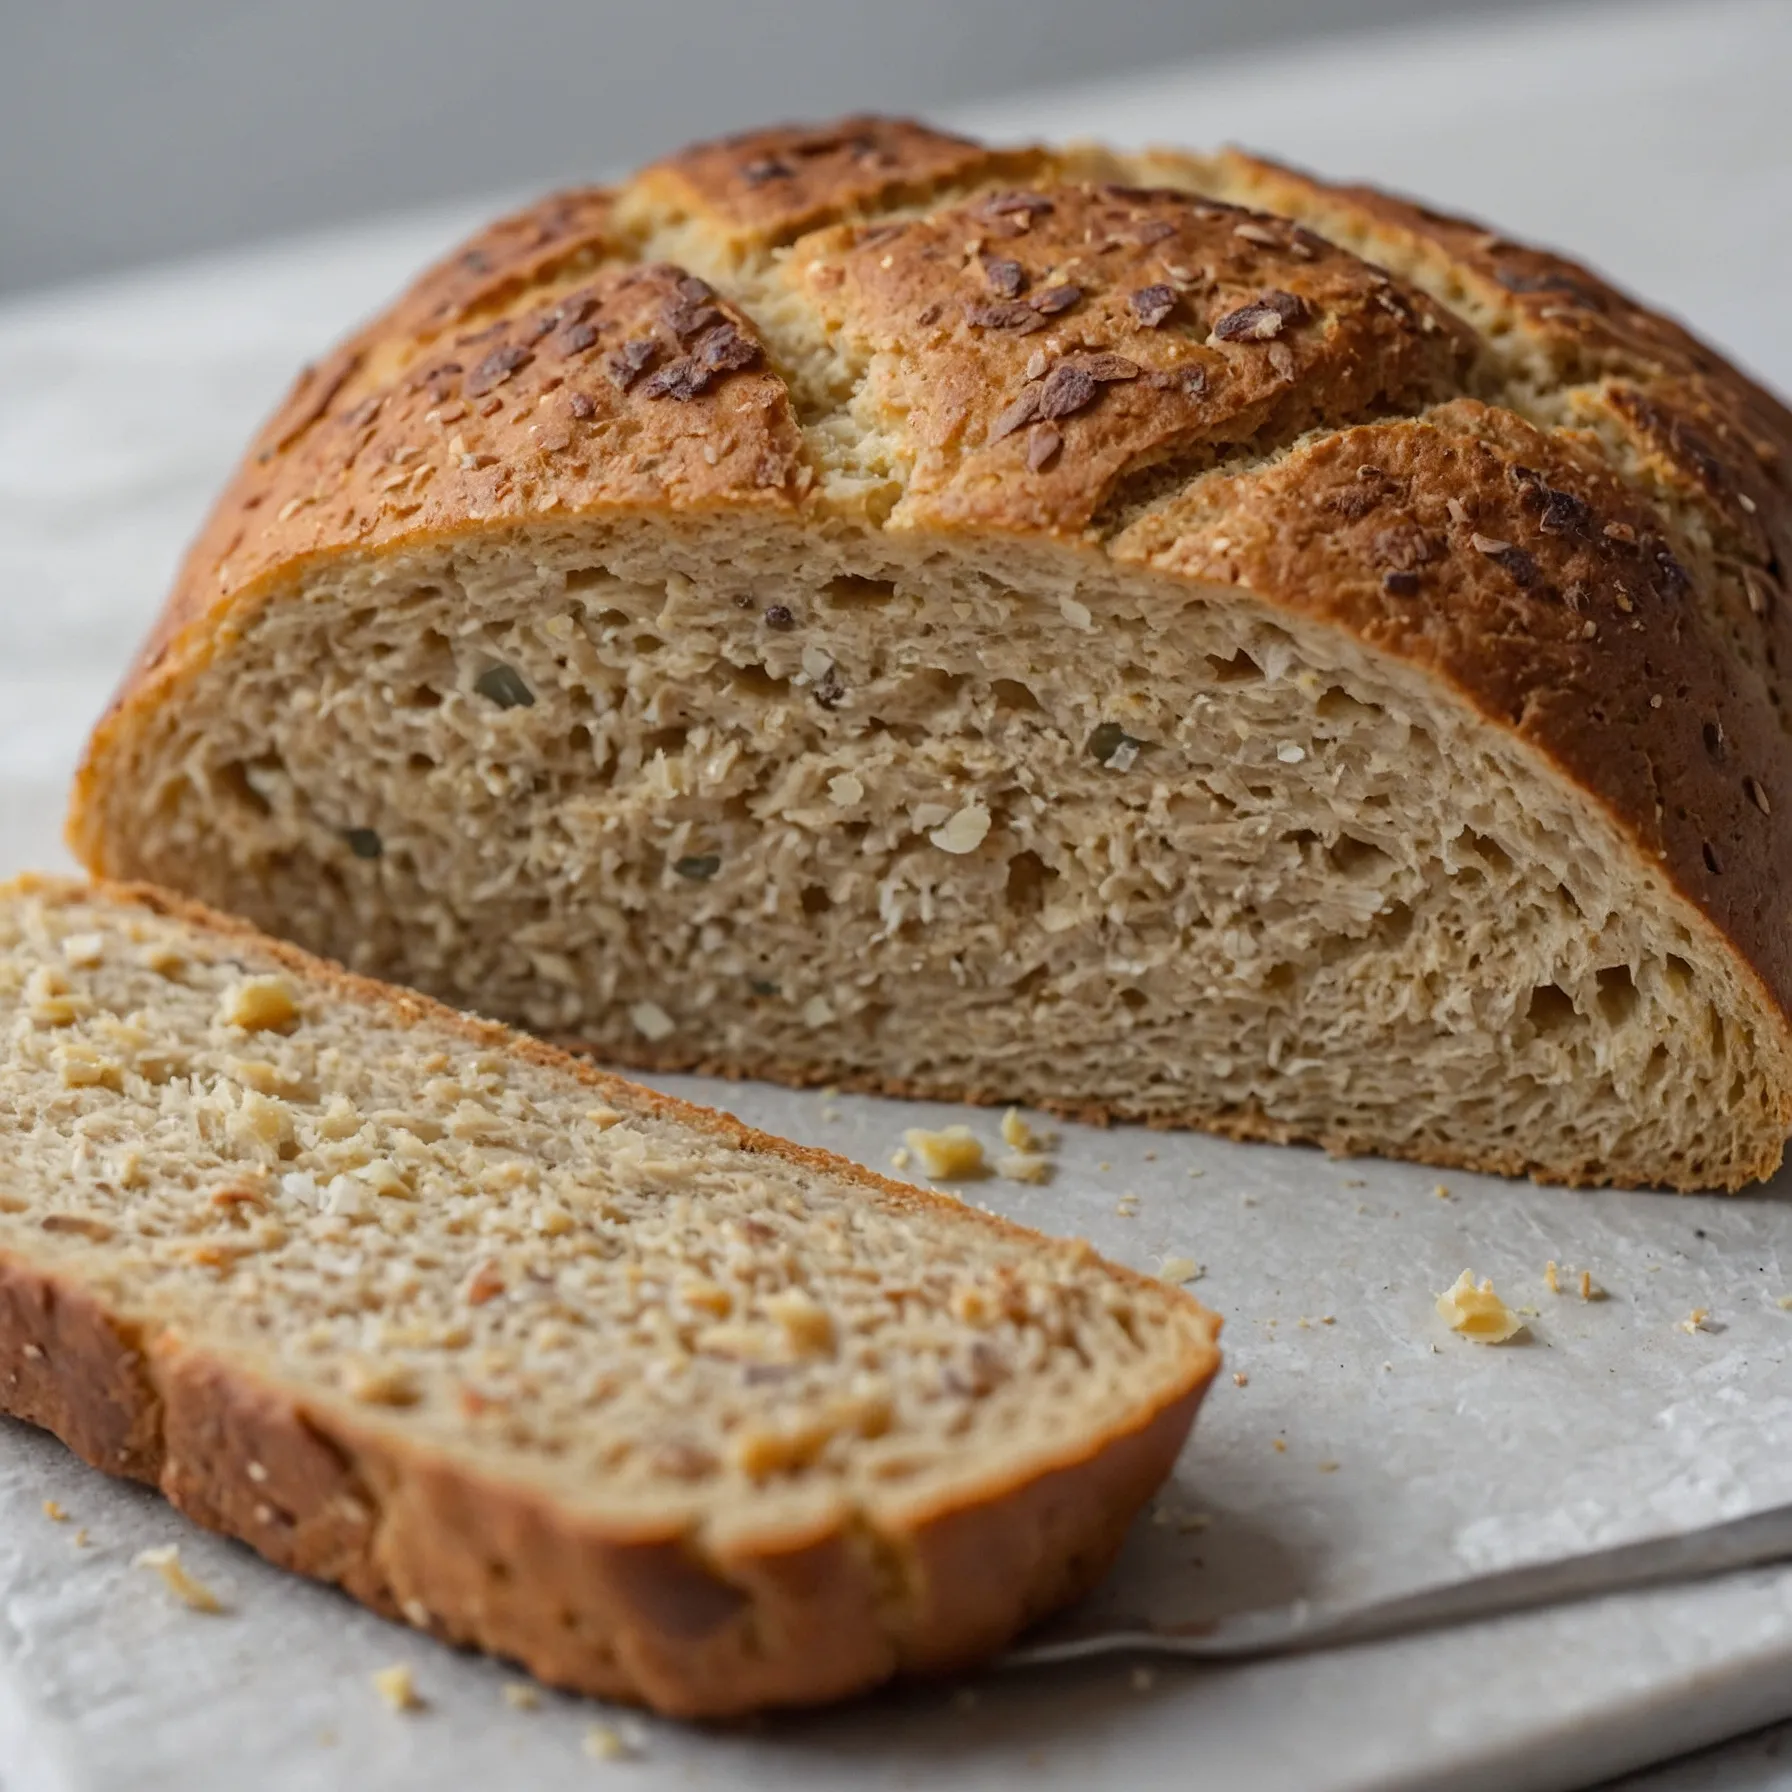
But what if I told you that perfect gluten free bread isn’t just a fantasy? After years of testing, tweaking, and countless disappointing loaves, I’ve finally developed a foolproof gluten-free bread recipe that delivers everything you’ve been missing: a tender, airy crumb with a satisfyingly crisp crust, and most importantly, a familiar bread-like texture that doesn’t scream “substitute.”
This isn’t just another gluten-free bread recipe—it’s the solution to your bread cravings. Using a carefully calibrated blend of flours, the magic of psyllium husk, and a few key techniques that make all the difference, this loaf rises beautifully, slices cleanly, and—dare I say it—might even fool your gluten-eating friends.
content overview
Table of Contents
Why This Gluten Free Bread Recipe Works
The success of this recipe comes down to three critical factors that most gluten-free bread recipes get wrong. First, the precise ratio of different flours creates structure without heaviness. Second, the combination of psyllium husk powder and xanthan gum provides the elasticity that gluten normally would, allowing for proper rise and a chewy texture. Finally, the higher hydration level prevents the dreaded dry, crumbly outcome that plagues most gluten-free breads.
This recipe has been meticulously tested over six months, with more than twenty iterations to perfect every element. The result is a reliable method that works consistently, even for those new to gluten-free baking.
Discover more breads Recipes
Gluten Free Bread Ingredients
Precise Ingredient List
- 200g (1½ cups) brown rice flour
- 100g (¾ cup) sorghum flour
- 100g (¾ cup) tapioca starch
- 50g (⅓ cup) potato starch (not potato flour)
- 12g (2 tablespoons) psyllium husk powder
- 8g (1 tablespoon) xanthan gum
- 9g (1½ teaspoons) fine sea salt
- 7g (2¼ teaspoons) instant yeast
- 24g (2 tablespoons) granulated sugar
- 3 large eggs, room temperature
- 30g (2 tablespoons) olive oil or melted butter
- 15g (1 tablespoon) apple cider vinegar
- 340g (1½ cups) warm water (105-110°F/40-43°C)
- 1 tablespoon honey or maple syrup (optional, for a more golden crust)

Understanding Key GF Ingredients
The GF Flour Blend: This carefully calibrated mix provides the perfect balance of structure and tenderness. Brown rice flour forms the base with its neutral flavor and good protein content. Sorghum adds a pleasant, mild sweetness and wheat-like quality. Tapioca starch contributes elasticity and chew, while potato starch helps retain moisture for a softer crumb.
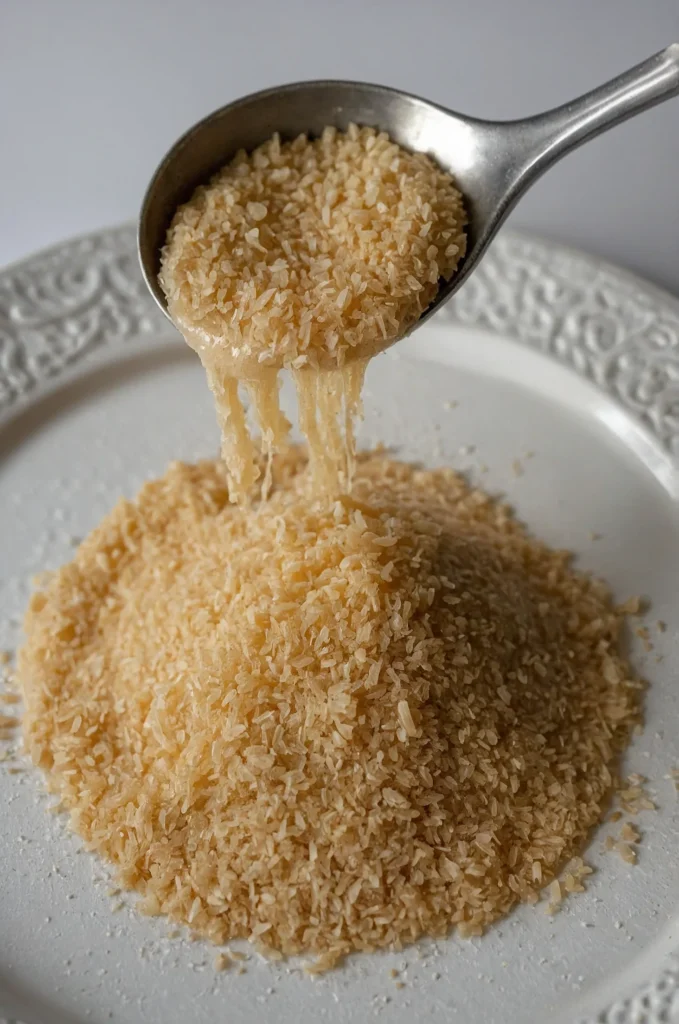
The Binders: Psyllium husk powder is the secret weapon here—it absorbs moisture and forms a gel-like structure that mimics gluten’s elasticity, allowing the dough to trap air bubbles. Xanthan gum further strengthens this structure, preventing the loaf from collapsing during cooling.
Yeast/Leavening: Instant yeast provides a reliable, consistent rise. The warm water temperature is crucial—too hot will kill the yeast, too cool will slow down activation.

Liquids: The higher water content is essential for a proper rise and moist interior. Eggs add structure, fat, and richness, while vinegar helps activate the yeast and tenderizes the crumb.
Fat/Oil: Olive oil or butter creates tenderness and extends freshness. Fat also helps the bread brown properly during baking.
Sugar/Sweetener: Sugar feeds the yeast for optimal rise and contributes to browning. The small amount won’t make the bread taste sweet.

Recommended Substitutions (Tested!)
- Egg-Free Version: Replace the 3 eggs with 3 tablespoons of ground flaxseed mixed with 9 tablespoons of water (let sit for 10 minutes before using). Note: The loaf will be slightly denser but still delicious.
- Dairy-Free: Use olive oil instead of butter. If brushing the top with butter, substitute olive oil or a plant-based butter.
- Flour Alternatives: If you can’t find sorghum flour, substitute with millet flour or more brown rice flour. The texture will be slightly different but still good.
- Sugar Alternatives: Coconut sugar or maple syrup can replace granulated sugar. For sugar-free options, use monk fruit sweetener or allulose.
- Oil Options: Any neutral oil (avocado, sunflower) can replace olive oil for a more neutral flavor.
Essential Baking Equipment
- Digital kitchen scale (strongly recommended for accuracy)
- Stand mixer with paddle attachment (or large bowl with sturdy wooden spoon)
- 9×5-inch (23×13 cm) loaf pan
- Parchment paper
- Measuring cups and spoons (if not using a scale)
- Instant-read thermometer
- Large bowl for rising
- Plastic wrap or clean kitchen towel
- Cooling rack
A digital kitchen scale makes all the difference in gluten-free baking, where precision is even more critical than in conventional baking. The instant-read thermometer ensures your bread is perfectly baked (no more guessing and ending up with gummy centers).
Discover more breads Recipes
How to Make the Ultimate Gluten Free Bread (Step-by-Step)
- Prepare your workspace. Measure all ingredients separately and have them ready at room temperature. Line your loaf pan with parchment paper, leaving overhang on the long sides for easy removal. Preheat your oven to 350°F (175°C).
- Mix the dry ingredients. In the bowl of your stand mixer (or a large mixing bowl), whisk together the brown rice flour, sorghum flour, tapioca starch, potato starch, psyllium husk powder, xanthan gum, salt, and instant yeast until thoroughly combined with no lumps.
- Prepare the wet ingredients. In a separate medium bowl, whisk together the eggs, olive oil, apple cider vinegar, sugar, and honey (if using) until well combined.
- Combine wet and dry ingredients. With the mixer running on low (or while stirring by hand), slowly pour the wet ingredients into the dry mixture. Gradually add the warm water, mixing continuously.
- Mix thoroughly. Increase the mixer speed to medium and beat for 3-4 minutes (or stir vigorously by hand for 4-5 minutes). The dough will be thick and sticky—more like a very thick batter than a traditional bread dough. It should pull away from the sides but stick to the bottom of the bowl.
- First rise. Scrape the dough into a lightly oiled bowl, cover with plastic wrap or a damp kitchen towel, and let rise in a warm spot for 60-90 minutes, or until noticeably puffy and expanded by about 50%. Gluten-free dough won’t double in size like wheat dough, so don’t wait too long.
- Shape the loaf. Gently scrape the risen dough into your prepared loaf pan. Wet your hands with cold water and smooth the top of the dough. The water prevents sticking and creates a smoother crust.
- Second rise. Cover the pan loosely with plastic wrap or a damp kitchen towel and let rise in a warm place for 30-45 minutes. The dough should rise to about 1 inch below the top of the pan. Don’t let it overproof or it may collapse during baking.
- Prepare for baking. Remove the covering and, if desired, brush the top lightly with olive oil or melted butter for a more golden crust. Optional: make a shallow slash down the center with a sharp knife or razor blade.
- Bake. Place the loaf in the preheated oven and bake for 45-55 minutes. If the top browns too quickly, loosely cover with aluminum foil after 30 minutes.
- Check for doneness. The bread is done when the internal temperature reaches 205-210°F (96-99°C), and the top is golden brown and sounds hollow when tapped. This temperature check is crucial for gluten-free bread.
- Cool completely. Remove from the oven and let cool in the pan for 10 minutes. Then use the parchment paper to lift the loaf out and cool completely on a wire rack for at least 2 hours before slicing. This cooling period is non-negotiable for gluten-free bread as it completes the interior structure.
Tips for Perfect Results Every Time
- Weigh your ingredients. This bears repeating: a scale is your best friend for consistent results in gluten-free baking.
- Don’t reduce the xanthan gum or psyllium husk. These ingredients are essential for structure; reducing them will result in a crumbly loaf.
- Watch the temperature. Use a thermometer for both your water (to activate yeast properly) and to check bread doneness.
- Embrace the stickiness. Properly hydrated gluten-free dough is stickier than wheat dough. Resist the urge to add more flour.
- Create a warm environment for rising. If your kitchen is cool, turn your oven on to its lowest setting for 2 minutes, then turn it off and place the covered dough inside with the door slightly ajar.
- Don’t rush the cooling period. Cutting into warm gluten-free bread will give you a gummy texture every time. Patience pays off here.
- Use room temperature eggs. Cold eggs can inhibit proper rising. Place them in warm water for 5 minutes if they’re straight from the refrigerator.
Gluten Free Bread Troubleshooting & FAQ
Q: Why is my bread dense or gummy inside?
A: There are several possible culprits:
- The bread wasn’t baked long enough—always check with a thermometer
- The ingredients weren’t measured accurately—use a scale for precision
- The bread was cut before cooling completely
- The dough may have been too dry—gluten-free bread needs higher hydration than wheat bread
Q: Why didn’t my bread rise properly?
A: This could be due to:
- Old or inactive yeast—test it by mixing with warm water and a pinch of sugar; it should foam within 10 minutes
- Water that was too hot or too cold—aim for 105-110°F (40-43°C)
- Rising in too cool an environment—find a warm spot around 75-80°F (24-27°C)
- Overproofing during the second rise—gluten-free bread can collapse if left too long
Q: Can I use a different flour blend?
A: While a pre-made gluten-free flour blend can work, results will vary significantly. This recipe was specifically formulated with these flour ratios for optimal texture. If substituting, look for one with similar ingredients (rice flour, tapioca starch) and be sure to add the full amount of psyllium and xanthan gum, as many blends don’t contain enough.
Q: Can I make this without eggs?
A: Yes, use the flax egg substitution mentioned earlier. The bread will be slightly denser but still enjoyable. You may need to increase baking time by 5-7 minutes.
Q: My crust is too hard/dark. What went wrong?
A: Your oven may run hot, or the loaf may be too close to the heating element. Next time, position the rack in the middle, reduce the temperature by 25°F, and cover with foil after the first 25-30 minutes of baking.
Q: Can I make this in a bread machine?
A: Yes, use the gluten-free setting if available. Add wet ingredients first, then dry, with yeast on top. The mixing and rising will be handled automatically, but still check the internal temperature for doneness.
How to Store and Reheat Your GF Bread
Gluten-free bread has different storage needs than conventional bread, mainly because it stales faster. Here’s how to keep it fresh:
Day 1-2: After cooling completely (minimum 2 hours), store in an airtight container or ziplock bag at room temperature. Do not refrigerate, as this accelerates staling.
Beyond day 2: Slice the remaining bread and freeze in an airtight container with parchment paper between slices for easy separation. Frozen slices will keep well for up to 3 months.
To reheat frozen slices: Toast directly from frozen, or thaw at room temperature for 30 minutes before toasting. For a freshly baked texture, sprinkle with a few drops of water and warm in a 300°F (150°C) oven for 5-7 minutes.
Refreshing day-old bread: Spritz with water and warm in a 300°F (150°C) oven for 5-10 minutes to rejuvenate the texture.
Discover more breads Recipes
Ways to Enjoy Your Homemade Gluten Free Bread
- Toast slathered with avocado, a sprinkle of red pepper flakes, and a drizzle of olive oil
- Classic grilled cheese sandwich with sharp cheddar and a smear of Dijon mustard
- French toast dusted with cinnamon and topped with fresh berries
- Homemade croutons for soups and salads (dice bread, toss with herbs and olive oil, bake until crisp)
- Classic BLT with thick-cut bacon and heirloom tomatoes
- Tear into chunks and use for bread pudding
- Slice thinly, brush with olive oil, and toast for crostini appetizers
Ultimate Gluten Free Bread Recipe
Ingredients:
- 200g (1½ cups) brown rice flour
- 100g (¾ cup) sorghum flour
- 100g (¾ cup) tapioca starch
- 50g (⅓ cup) potato starch
- 12g (2 tablespoons) psyllium husk powder
- 8g (1 tablespoon) xanthan gum
- 9g (1½ teaspoons) fine sea salt
- 7g (2¼ teaspoons) instant yeast
- 24g (2 tablespoons) granulated sugar
- 3 large eggs, room temperature
- 30g (2 tablespoons) olive oil or melted butter
- 15g (1 tablespoon) apple cider vinegar
- 340g (1½ cups) warm water (105-110°F/40-43°C)
- 1 tablespoon honey or maple syrup (optional)
Instructions:
- Preheat oven to 350°F (175°C). Line a 9×5-inch loaf pan with parchment paper.
- Whisk together all dry ingredients in a large bowl or stand mixer.
- In a separate bowl, combine eggs, oil, vinegar, sugar, and honey (if using).
- With mixer running on low (or stirring by hand), add wet ingredients to dry, followed by warm water.
- Mix on medium speed for 3-4 minutes until dough is thick and sticky.
- Transfer to the oiled bowl, cover, and let rise 60-90 minutes until puffy.
- Gently transfer to prepared pan. Smooth top with wet hands.
- Cover loosely and let rise 30-45 minutes until 1 inch from top of pan.
- Brush with oil or butter if desired and slash top.
- Bake 45-55 minutes until internal temperature reaches 205-210°F (96-99°C).
- Cool in pan 10 minutes, then remove and cool completely on rack for at least 2 hours before slicing.
Prep Time: 30 minutes
Rise Time: 90-135 minutes
Bake Time: 45-55 minutes
Total Time: ~3.5 hours
Yield: 1 loaf (12-14 slices)
Nutrition Information (per slice, based on 14 slices):
Calories: 185
Carbohydrates: 33g
Protein: 4g
Fat: 4g
Fiber: 2g
Sodium: 258mg
Did You Make This Recipe?
I’d love to see your gluten-free bread creation! Leave a comment below and share your experience. Did you make any substitutions that worked well? Was it your first time baking gluten-free bread?
If you share your bread on social media, tag it with #UltimateGFBread so I can celebrate your success! And don’t forget to rate the recipe—your feedback helps other readers know what to expect.
Looking for more gluten-free baking inspiration? Check out my Artisan Gluten-Free Dinner Rolls, Easy GF Sandwich Bread, or Gluten-Free Sourdough Starter Guide for more ways to enjoy bread again on a gluten-free diet.
Remember, gluten-free baking is as much art as science—each kitchen and environment is different, so don’t be afraid to note what works for your specific conditions. Happy baking!

