The Ultimate Guide to Perfect Breaded Cauliflower (Baked, Air Fryer & More!)
Learn how to make perfectly crispy Breaded Cauliflower with this easy step-by-step recipe. A crowd-pleasing vegetarian appetizer that’s ready in under 30 minutes.
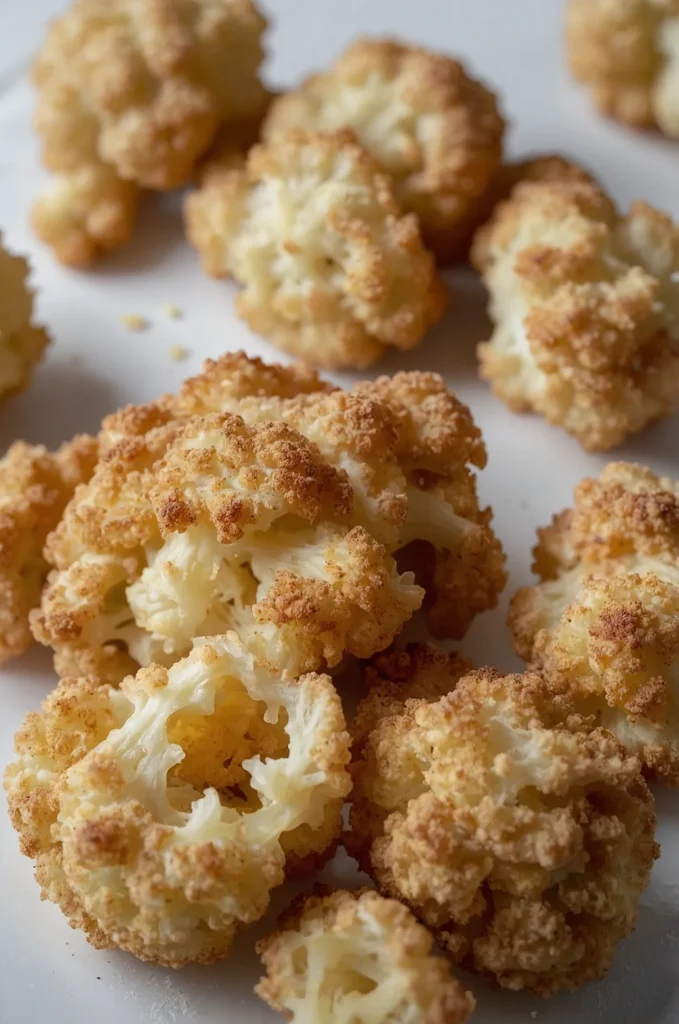
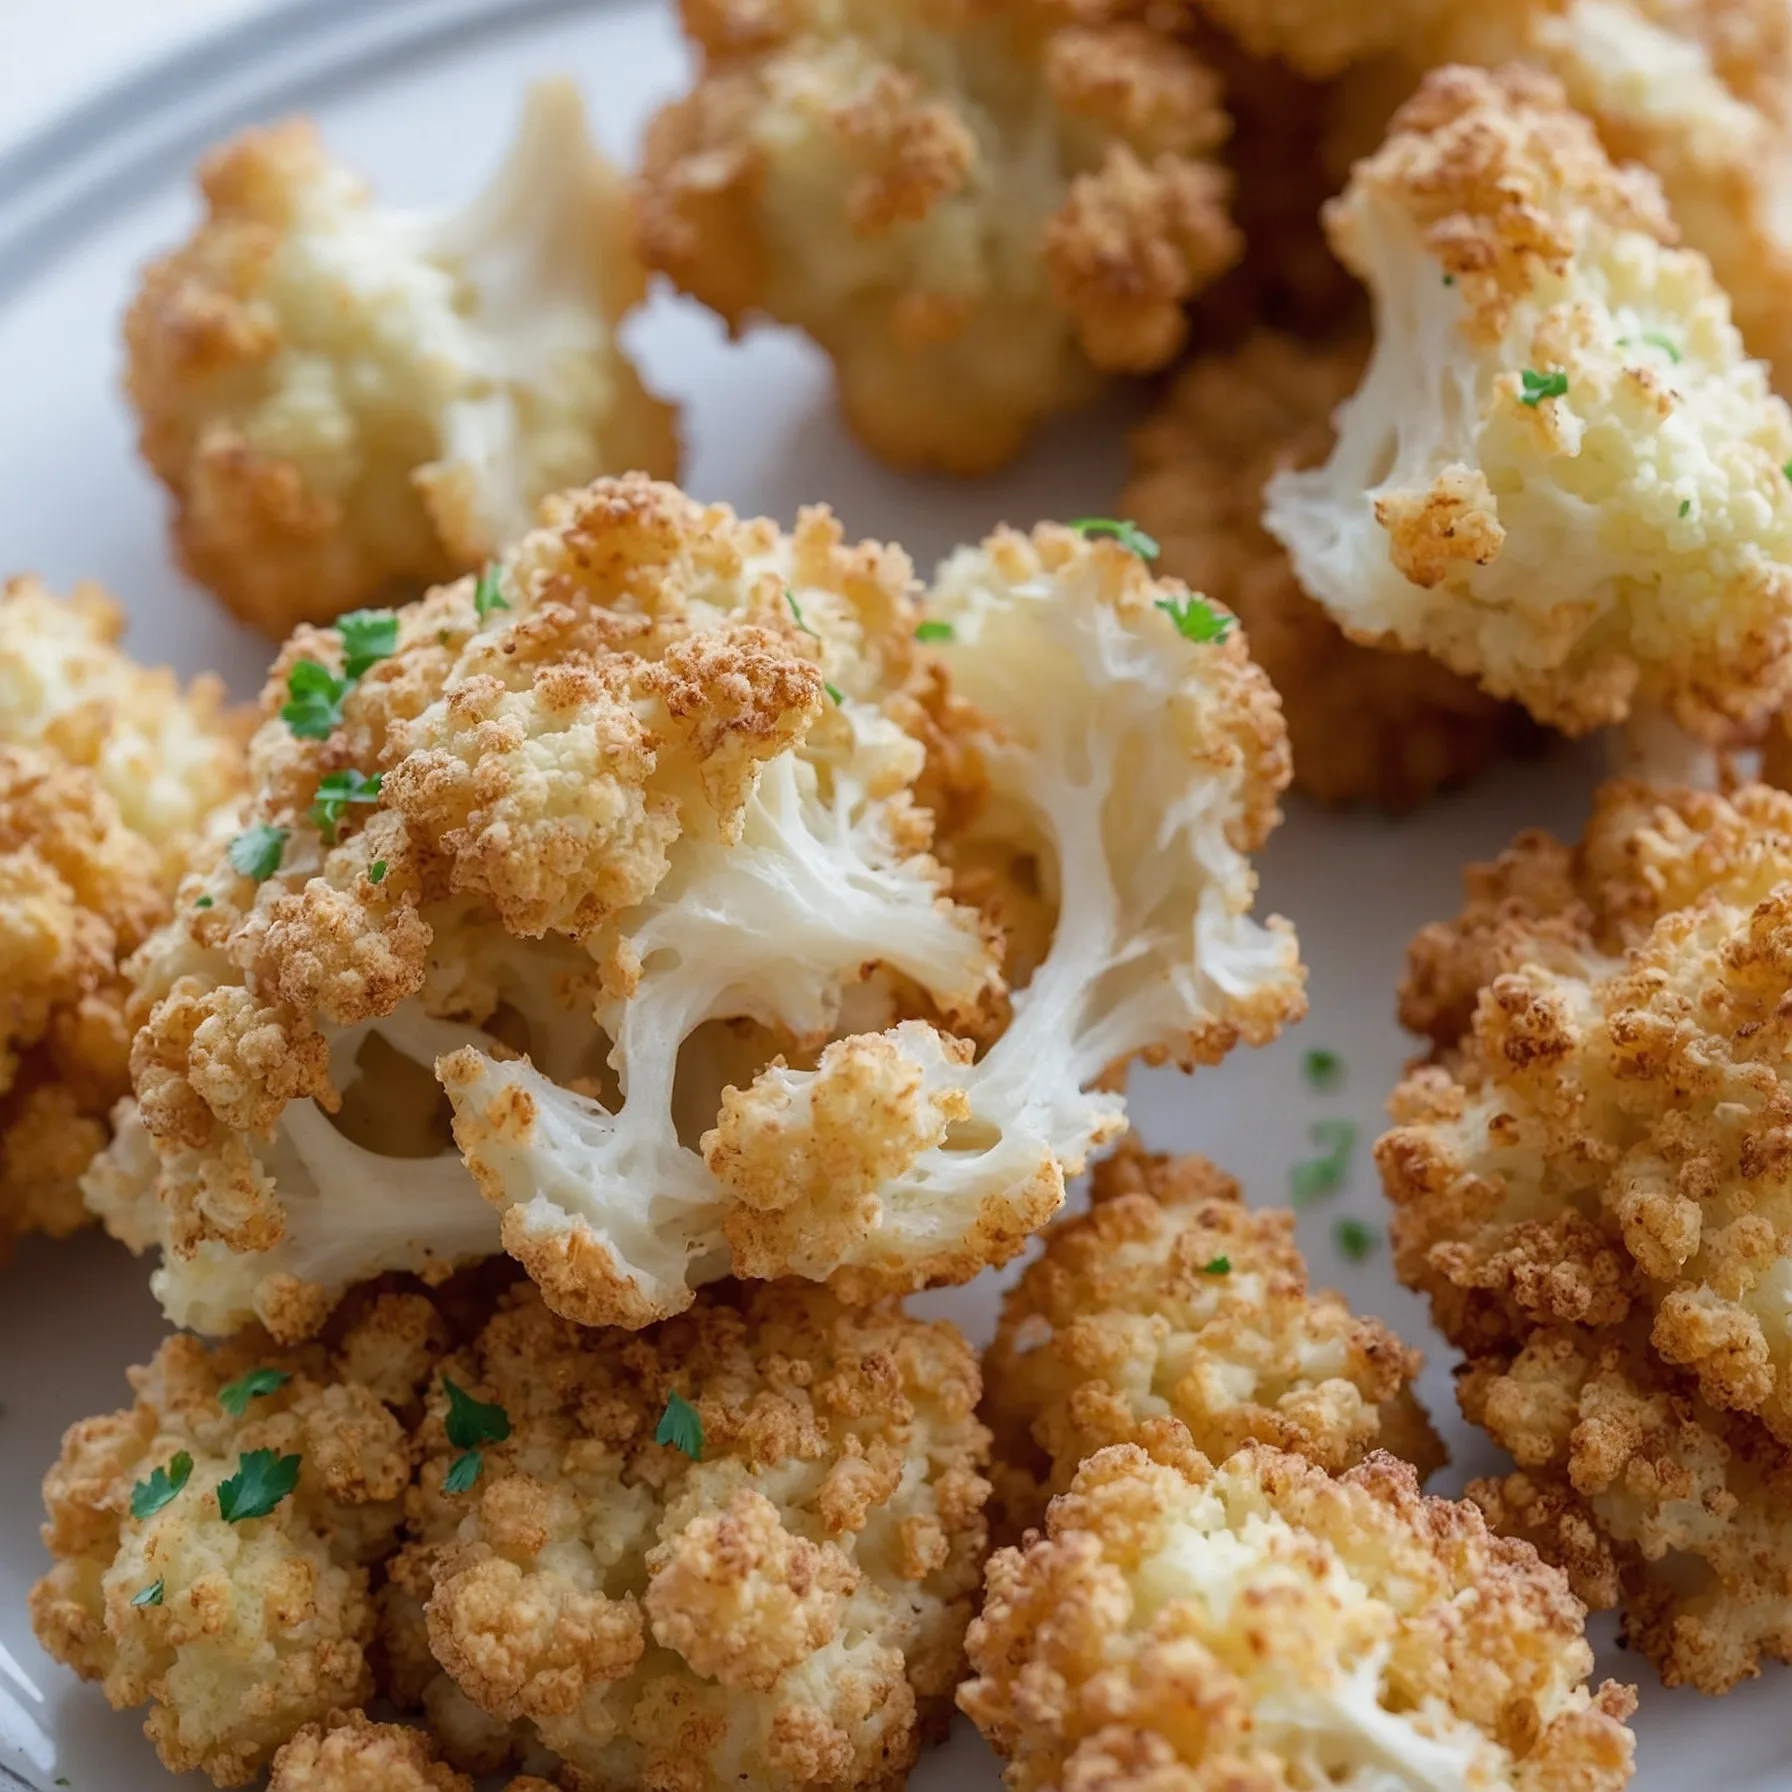
Crispy on the outside, tender on the inside – perfectly breaded cauliflower is a game-changer whether you’re looking for a healthier alternative to traditional fried foods or simply a delicious way to enjoy this versatile vegetable. From golden-brown baked florets to air-fried crunchy bites, mastering the art of breaded cauliflower opens up a world of culinary possibilities.
In this comprehensive guide, we’ll walk through everything you need to know to achieve that satisfying crunch every single time. You’ll discover multiple foolproof cooking methods – including baked and air fryer techniques – along with expert tips, variations, and troubleshooting advice to ensure your breaded cauliflower is nothing short of spectacular.
Whether you’re feeding a crowd or preparing a weeknight side dish, these techniques will deliver restaurant-quality results with minimal effort. Let’s dive into the world of perfectly breaded cauliflower!
content overview
Table of Contents
Why You’ll Love This Breaded Cauliflower Recipe:
- Irresistible Crispy Texture: Achieve that perfect golden crunch without deep frying
- Easily Customizable: Adapt seasonings and coatings to suit your taste preferences
- Relatively Healthy: Especially when baked or air-fried compared to traditional frying
- Versatile: Works brilliantly as an appetizer, side dish, or even main course
- Crowd-Pleaser: Appeals to vegetarians and meat-eaters alike
- Budget-Friendly: Transform an affordable vegetable into something extraordinary
Ingredients You’ll Need:
- 1 large head of cauliflower (about 2 pounds/900g)
- 2 large eggs (or vegan alternative)
- ¼ cup (30g) all-purpose flour
- 1 cup (120g) breadcrumbs (preferably panko)
- 2 tablespoons olive oil or cooking spray
- 1 teaspoon garlic powder
- 1 teaspoon paprika
- ½ teaspoon salt
- ¼ teaspoon black pepper
- Optional: ¼ cup (25g) grated parmesan cheese
Ingredient Deep Dive
Cauliflower: Choosing and Prepping
The foundation of this recipe starts with selecting the right cauliflower. Look for heads that are firm, white, and free from brown spots or discoloration. The florets should be tightly packed together, indicating freshness.
When prepping your cauliflower, aim for uniform, bite-sized florets around 1-1.5 inches in size. This consistency is crucial for even cooking – too small and they’ll overcook, too large and the centers might remain undercooked while the breading burns. Using a sharp knife, remove the core and cut the head into florets, then further trim larger pieces as needed.
PRO TIP: After cutting, rinse your cauliflower florets under cold water, then thoroughly pat them dry with paper towels or a clean kitchen towel. This step cannot be overstated – excess moisture is the enemy of crispy breading!
Discover more breads Recipes
Binder Options
The binder is what helps your breadcrumbs adhere to the cauliflower. While traditional recipes use eggs, there are several options:
Standard Egg Wash: Whisk 2 large eggs with 1 tablespoon of water for the perfect consistency. This provides excellent adhesion and helps create a golden crust.
Vegan Alternatives:
- Flax Egg: Mix 2 tablespoons ground flaxseed with 6 tablespoons water and let sit for 15 minutes until gelatinous
- Plant Milk + Flour Slurry: Combine ½ cup plant milk with 2 tablespoons flour and whisk until smooth
- Aquafaba: Use 6 tablespoons of the liquid from canned chickpeas, lightly whipped
Each alternative has its characteristics – flax eggs provide robust binding but add a slight nutty flavor, while aquafaba is nearly flavorless but slightly less adhesive than regular eggs.
Breadcrumb Options
Your choice of breadcrumbs significantly impacts the final texture of your breaded cauliflower:
Panko Breadcrumbs: These Japanese-style breadcrumbs are larger and more flaky than traditional breadcrumbs, creating an exceptionally crispy, light coating. They’re the top choice for maximum crunch.
Regular Breadcrumbs: Finer in texture and more compact, these create a denser coating. They’re great if you prefer a more traditional breaded texture.
Gluten-Free Options:
- Gluten-free panko (now widely available)
- Almond flour mixed with nutritional yeast (1:1 ratio)
- Crushed rice cereal
- Crushed gluten-free crackers
Flour
The initial flour coating serves as a crucial primer that helps the egg wash (or alternative binder) stick to the cauliflower. For standard recipes, all-purpose flour works perfectly.
Gluten-Free Alternatives:
- Gluten-free all-purpose flour blend
- Rice flour (creates an extra crispy result)
- Chickpea flour (adds a slight nutty flavor)
Seasonings
While the basic recipe includes salt, pepper, garlic powder, and paprika, breaded cauliflower is incredibly versatile when it comes to seasonings:
Basic Blend: Salt, pepper, garlic powder, paprika Italian-Style: Add dried oregano, basil, and thyme Cajun-Inspired: Use cayenne pepper, onion powder, and dried thyme Cheesy Flavor: Incorporate nutritional yeast (vegan) or parmesan Indian-Inspired: Add curry powder, turmeric, and cumin
For maximum flavor, season not just the breadcrumb mixture but also the flour and even the cauliflower itself before starting the breading process.
Oil
While traditional breaded items are deep-fried, our healthier methods (baking and air frying) still require some oil to achieve that desirable golden crispiness:
- Spray Oil: Provides the most even, light coating (recommended)
- Olive Oil: Adds a subtle flavor, great for the baking method
- Avocado Oil: Higher smoke point, ideal for air frying
- Coconut Oil: Adds a slight sweetness (use refined if you don’t want coconut flavor)
Equipment Needed:
- Baking sheets
- Parchment paper or silicone baking mats
- Air fryer (for air fryer method)
- 3 shallow bowls for dredging
- Tongs or forks for handling
- Paper towels
- Cutting board and knife
- Measuring cups and spoons
How to Make Breaded Cauliflower: Step-by-Step
Prep Steps (Universal):
- Preheat your oven to 400°F (200°C) for the baking method or air fryer to 380°F (190°C).
- Wash cauliflower and cut into uniform florets (approximately 1-1.5 inches in size).
- CRITICAL STEP: Pat the cauliflower florets THOROUGHLY dry with paper towels. Excess moisture will create steam during cooking, resulting in soggy breading.
- Set up your dredging station with three shallow bowls:
- Bowl 1: Flour mixed with ¼ teaspoon each of salt and garlic powder
- Bowl 2: Beaten eggs (or vegan alternative)
- Bowl 3: Breadcrumbs mixed with remaining seasonings (and optional parmesan)
Discover more breads Recipes
Method 1: Baked Breaded Cauliflower (The Healthier Crunch)
- Line a baking sheet with parchment paper and lightly spray or brush with oil.
- Take a cauliflower floret and dip it in the seasoned flour, shaking off excess.
- Next, dip into the egg wash (or alternative binder), ensuring it’s fully coated.
- Roll in the seasoned breadcrumb mixture, pressing gently to help the crumbs adhere.
- Place on the prepared baking sheet, ensuring florets don’t touch each other.
- Repeat with remaining cauliflower pieces.
- Lightly spray or drizzle the breaded florets with oil – this helps achieve a golden-brown color.
- Bake at 400°F (200°C) for 20-25 minutes until golden brown and crispy.
- Halfway through baking time (around 10-12 minutes), flip each piece carefully for even browning.
- Check for doneness – florets should be fork-tender inside with a crispy exterior.
Key Baking Tips:
- Arrange in a single layer with space between each piece to promote air circulation
- Flipping halfway ensures even browning
- Parchment paper prevents sticking without excessive oil
Method 2: Air Fryer Breaded Cauliflower (The Quick & Crispy Champ)
- Follow the same dredging process described in the baking method (flour → egg → breadcrumbs).
- Lightly spray the air fryer basket with oil.
- Arrange breaded cauliflower in a single layer in your air fryer basket, leaving space between pieces. Don’t overcrowd – work in batches if necessary.
- Lightly spray the tops of the cauliflower with oil.
- Air fry at 380°F (190°C) for 12-15 minutes total.
- At the 6-7 minute mark, pause, open the air fryer, and gently shake the basket or flip the pieces.
- Continue cooking until golden brown and crispy on the outside, tender inside.
- Remove from the air fryer and serve immediately for maximum crispiness.
Key Air Fryer Tips:
- Don’t overcrowd – breaded cauliflower needs air circulation to get crispy
- The more space between pieces, the crispier the results
- Some air fryers run hotter than others – check a minute or two early on your first batch
Method 3: Pan-Fried Breaded Cauliflower (Classic Indulgence)
While baking and air frying are healthier options, traditional pan-frying delivers exceptional crispiness and golden color:

- Follow the standard breading procedure (flour → egg → breadcrumbs).
- Heat ¼ inch of oil (vegetable, canola, or avocado) in a heavy-bottomed skillet over medium heat until shimmering (about 350°F/175°C).
- Test the oil by dropping in a few breadcrumbs – they should sizzle immediately.
- Working in small batches, carefully add breaded cauliflower to the hot oil.
- Fry for 2-3 minutes per side until deeply golden brown.
- Remove with a slotted spoon and drain on paper towels.
- Season immediately with a pinch of salt while still hot.
Pan-Frying Tips:
- Use a high smoke-point oil like canola or avocado
- Don’t crowd the pan–fry in small batches
- Maintain oil temperature between batches
Pro Tips for the BEST Breaded Cauliflower:
- Dry the Cauliflower Thoroughly: Moisture is the enemy of crispiness – pat those florets dry!
- Uniform Florets Matter: Consistent sizing ensures even cooking throughout.
- Season Every Layer: Add flavor to the flour, eggs, and breadcrumbs for depth.
- Press Breadcrumbs Firmly: Gentle pressure helps the coating adhere better.
- Don’t Skip the Oil: Even for baked/air-fried versions, a light coating of oil is essential for that golden color.
- Work in Batches: Whether baking or air frying, don’t overcrowd your cooking surface.
- Use Panko for Maximum Crunch: The larger flakes create more air pockets for crispier results.
- Flip or Shake Mid-Cooking: This ensures even browning on all sides.
- Serve Immediately: Breaded cauliflower is at its crispy peak right after cooking.
- Elevate Your Breading Station: Keep one hand for wet ingredients and one for dry to avoid “breading fingers.”
Variations & Substitutions:
Vegan Breaded Cauliflower
Creating a delicious vegan version requires just a few simple swaps:
- Replace egg wash with flax egg, aquafaba, or plant milk slurry (as detailed in the Ingredients section)
- Ensure your breadcrumbs don’t contain dairy (most plain varieties are vegan)
- Skip the parmesan or replace it with nutritional yeast (2-3 tablespoons) for a cheesy flavor
- Add a pinch more salt to compensate for the missing parmesan
The vegan version works particularly well with the air fryer method, which creates exceptional crispiness without eggs.
Gluten-Free Breaded Cauliflower
Going gluten-free? No problem:
- Substitute all-purpose flour with gluten-free all-purpose flour blend
- Use gluten-free panko or breadcrumbs (available at most grocery stores)
- Alternatively, make your own GF coating with almond flour mixed with nutritional yeast or ground pork rinds (if not vegetarian)
- Double-check that all seasonings and additives are certified gluten-free
The texture might be slightly different – GF breading tends to brown a bit faster, so keep a close eye during cooking.
Discover more breads Recipes
Spice it Up!
Elevate your breaded cauliflower with these exciting flavor variations:
- Buffalo Style: After cooking, toss in buffalo sauce (½ cup hot sauce mixed with 2 tablespoons melted butter)
- Lemon Pepper: Add 1 tablespoon lemon zest and 1 teaspoon coarsely ground black pepper to breadcrumbs
- Curry Explosion: Mix 2 teaspoons curry powder, ¼ teaspoon turmeric, and ¼ teaspoon cumin into breadcrumbs
- Ranch Flavor: Add 2 tablespoons ranch seasoning mix to breadcrumbs
- Garlic Parmesan: Increase garlic powder to 2 teaspoons and add ½ cup grated parmesan
- Mexican-Inspired: Mix in 1 teaspoon cumin, 1 teaspoon chili powder, and ½ teaspoon oregano
Cheesy Breaded Cauliflower
For cheese lovers, try these modifications:

- Add ½ cup freshly grated Parmesan to the breadcrumb mixture
- For extra indulgence, place a small piece of mozzarella on each floret before breading
- Mix 2 tablespoons of nutritional yeast into breadcrumbs for a dairy-free cheesy flavor
- After baking/air frying, sprinkle with additional cheese and broil for 1-2 minutes until melted
Serving Suggestions:
As an Appetizer with Dipping Sauces
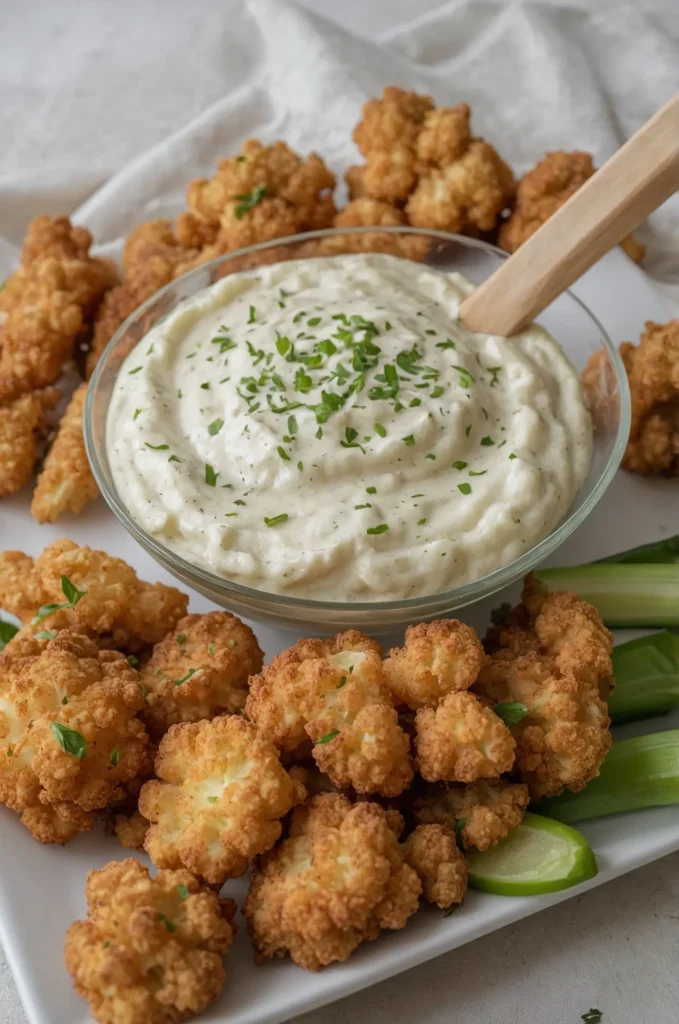
Breaded cauliflower makes an impressive starter. Serve with an assortment of dipping sauces:

- Ranch Dressing: The cool creaminess pairs perfectly with the crispy coating
- Buffalo Sauce: For heat lovers
- Marinara: For an Italian twist
- Honey Mustard: Sweet, tangy perfection
- Garlic Aioli: Elevates the cauliflower to gourmet status
- Tahini Sauce: A Mediterranean-inspired option
- Sweet Chili Sauce: For a sweet-spicy kick
As a Side Dish
Breaded cauliflower complements many main courses:
- Alongside grilled chicken or fish
- With pasta dishes, particularly tomato-based ones
- Next to burgers as an alternative to fries
- With grain bowls for added texture and protein
In Tacos or Wraps
Transform your breaded cauliflower into a satisfying filling:
- Cauliflower Tacos: Fill soft tortillas with breaded cauliflower, slaw, avocado, and chipotle sauce
- Wraps: Combine with mixed greens, tomatoes, and your favorite sauce in a whole wheat wrap
- Pita Pockets: Stuff into warm pita with cucumber, tomato, and tzatziki sauce
As a Vegetarian Main Course
- Create a “Cauliflower Parmesan” by topping with marinara and mozzarella, then baking
- Serve over pasta with sauce
- Create a grain bowl with quinoa, roasted vegetables, and a tahini drizzle
- Top a salad for a hearty, protein-rich meal
Storage & Reheating Instructions:
Storage
While breaded cauliflower is best enjoyed fresh, leftovers can be stored:
- Allow to cool completely before storing
- Place in an airtight container, separated by parchment paper if stacking
- Refrigerate for up to 2-3 days
- Note: The texture will soften in the refrigerator due to moisture
Reheating
To regain crispiness:
Oven Method (Best Results):
- Preheat oven to 375°F (190°C)
- Place cauliflower on a baking sheet lined with parchment paper
- Reheat for 7-10 minutes until hot and crispy again
Air Fryer Method (Quick & Nearly As Good):
- Preheat air fryer to 350°F (175°C)
- Place cauliflower in a basket in a single layer
- Heat for 3-5 minutes until crispy and heated through
Avoid Microwave If Possible: While convenient, microwaving will make the breading soggy. If you must use a microwave, place it on a paper towel-lined plate and expect softer results.
Breaded Cauliflower FAQ:
Can I make this ahead of time?
Answer: For best results, breaded cauliflower should be enjoyed fresh. However, you can pre-cut and dry the cauliflower florets up to a day in advance. Store them in the refrigerator in an airtight container with a paper towel to absorb excess moisture. You can also prepare the flour, egg wash, and breadcrumb mixtures ahead of time and refrigerate separately. The actual breading and cooking are best done just before serving for maximum crispiness.
Why is my bread falling off?
Answer: Several common culprits:
- Cauliflower was too wet before breading – ensure it’s thoroughly dried
- Breading steps were rushed – follow the flour → egg → breadcrumb sequence carefully
- Breadcrumbs weren’t pressed firmly enough onto the cauliflower
- Cooking temperature was too high, causing the breading to expand and separate
- Flipping too early or roughly during cooking
Why is my cauliflower soggy?
Answer: Sogginess usually results from:
- Not drying the cauliflower thoroughly before breading
- Overcrowding the baking sheet or air fryer basket – steam gets trapped
- Oven or air fryer temperature too low
- Not using enough oil in the baking method
- Covering hot cauliflower immediately after cooking (traps steam)
Can I use frozen cauliflower?
Answer: While fresh is strongly recommended, if using frozen:
- Thaw completely first (overnight in the refrigerator is best)
- Pat EXTREMELY dry with multiple paper towels
- You may need to adjust the cooking time slightly
- Expect slightly less crisp results as frozen cauliflower contains more water
The extra moisture in frozen cauliflower makes it challenging to achieve the same level of crispiness as fresh, but it can work in a pinch.
Baked vs. Air Fryer: Which is better?
Answer: Each method has advantages:
Baked
- Better for large batches
- More even browning overall
- No special equipment needed
- Slightly less oil needed
Air Fryer
- Faster cooking time (12-15 minutes vs 20-25)
- Often crispier results with less oil
- No need to flip pieces (just shake)
- Doesn’t heat the whole kitchen
- Yields a texture closer to deep-fried
The best method depends on your priorities (batch size, time, equipment availability) and personal preference.
How do I know when the cauliflower is cooked through?
Answer: Properly cooked breaded cauliflower should be:
- Golden brown on the outside
- Easily pierced with a fork
- Tender but not mushy when bitten into
The cauliflower should maintain its structure but not have any crunch or raw taste.
Conclusion:
Perfectly breaded cauliflower is a culinary chameleon – capable of transforming from a simple side dish to the star of your meal. With its satisfying crunch, endless flavor possibilities, and various cooking methods, it’s a recipe worth mastering.
Whether you choose to bake, air fry, or pan-fry, the keys to success remain the same: thoroughly dry your cauliflower, season every layer, and serve it fresh for maximum enjoyment. This versatile dish bridges the gap between comfort food and healthy eating, making it a valuable addition to any cook’s repertoire.
Which method will you try first? Do you have a favorite dipping sauce to pair with breaded cauliflower? Share your experience in the comments below – I’d love to hear how your breaded cauliflower turns out!

