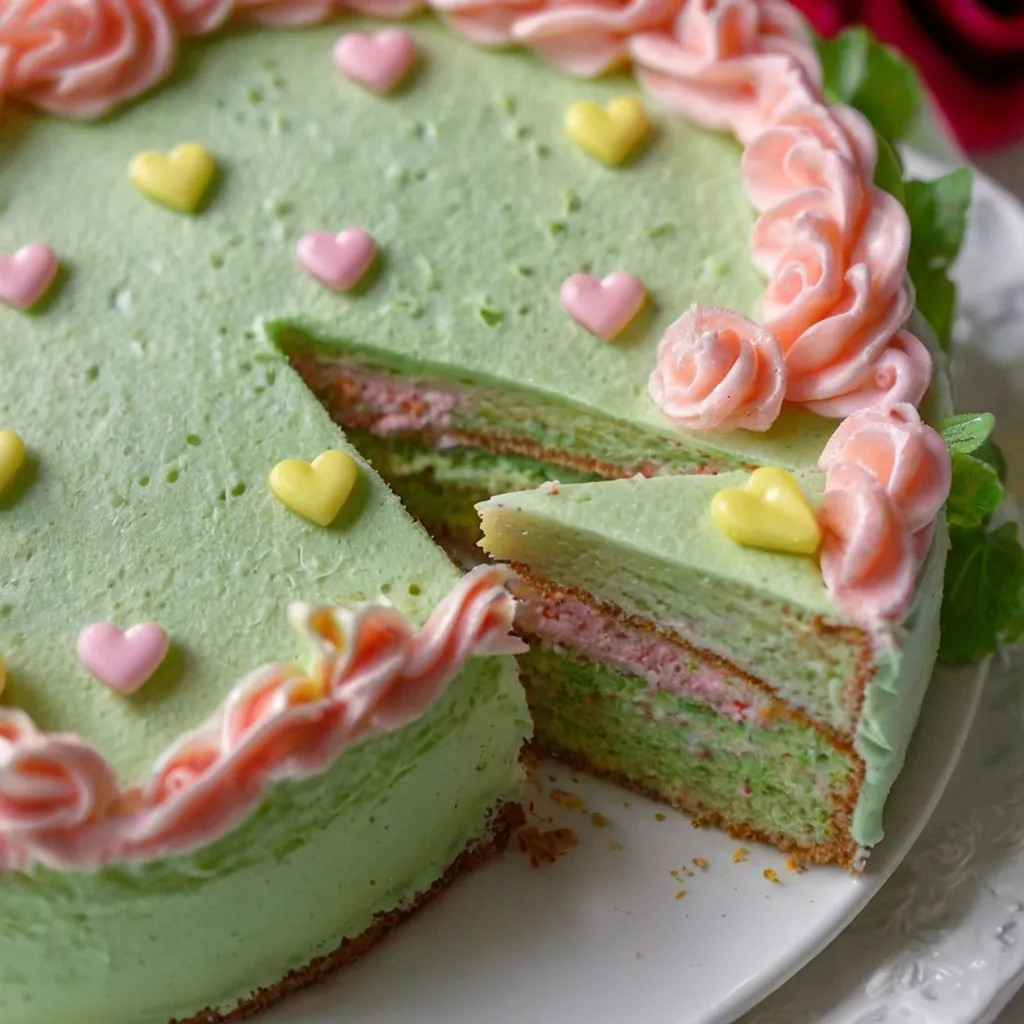
Delicious Princess Cake Recipe Ideas for Every Occasion
Discover delicious princess cake recipes for any occasion. Wow your guests with these royal treats!
Have you ever wondered what makes a Princess Cake so special? This iconic green dome-shaped cake has captured hearts worldwide with its delicate layers and distinctive appearance. Today, I’ll guide you through everything you need to know about creating this royal Swedish dessert in your kitchen.
Introduction: The Royal Origins of Princess Cake
Princess Cake (Prinsesstårta in Swedish) is a traditional Swedish layer cake known for its distinctive dome shape and vibrant green marzipan coating. This elegant dessert features layers of light sponge cake, pastry cream, and whipped cream, all enveloped in a smooth marzipan shell and typically topped with a delicate pink marzipan rose.
content overview
Table of Contents
A Brief History
The Princess Cake dates back to the 1920s when Jenny Åkerström, a home economics teacher to the Swedish princesses Margaretha, Märtha, and Astrid (daughters of Prince Carl and Princess Ingeborg), first created it. Originally called “green cake” due to its signature color, it was renamed “Princess Cake” because the royal princesses were particularly fond of this dessert.
In her cookbook “Prinsessornas Kokbok” (The Princesses’ Cookbook), Åkerström introduced this recipe that would become a national treasure. Legend has it that Princess Märtha preferred this particular cake, leading to its royal association.
Cultural Significance
In Sweden, Princess Cake holds a special place in the culture. It’s so beloved that the third week of September is officially designated as “Princess Cake Week” (Prinsesstårtveckan). During this time, many bakeries donate a portion of their Princess Cake sales to charity.
The cake has become synonymous with celebrations in Sweden, frequently appearing at birthdays, weddings, and other special occasions. Its unique appearance makes it instantly recognizable and a staple in Swedish bakeries. The traditional green color symbolizes the coming of spring, though color variations have emerged over time.
Today, Princess Cake has gained international popularity, appearing in bakeries worldwide and even featuring in episodes of the Great British Bake Off and other culinary shows.
The Classic Princess Cake Recipe
Creating a Princess Cake requires attention to detail and patience, but the results are well worth the effort. Here’s a comprehensive recipe for making this Swedish delicacy at home.
Discover more cakes Recipes
Ingredients
For the Sponge Cake:
- 4 large eggs, at room temperature
- 1 cup (200g) granulated sugar
- 1 teaspoon vanilla extract
- 1 cup (125g) all-purpose flour
- 1 teaspoon baking powder
- ¼ teaspoon salt
- 2 tablespoons unsalted butter, melted and cooled
For the Vanilla Custard:
- 2 cups (480ml) whole milk
- ½ vanilla bean, split lengthwise (or 2 teaspoons vanilla extract)
- 6 large egg yolks
- ½ cup (100g) granulated sugar
- ¼ cup (30g) cornstarch
- Pinch of salt
- 2 tablespoons unsalted butter
For the Assembly:
- ⅓ cup (100g) raspberry or strawberry jam
- 2½ cups (600ml) heavy cream
- 3 tablespoons powdered sugar
- 1 teaspoon vanilla extract
- 750g green marzipan
- Powdered sugar for rolling
- 1 small piece of pink marzipan for the rose decoration
- Optional: 1 small piece of dark chocolate for garnish
Instructions
Sponge Cake:
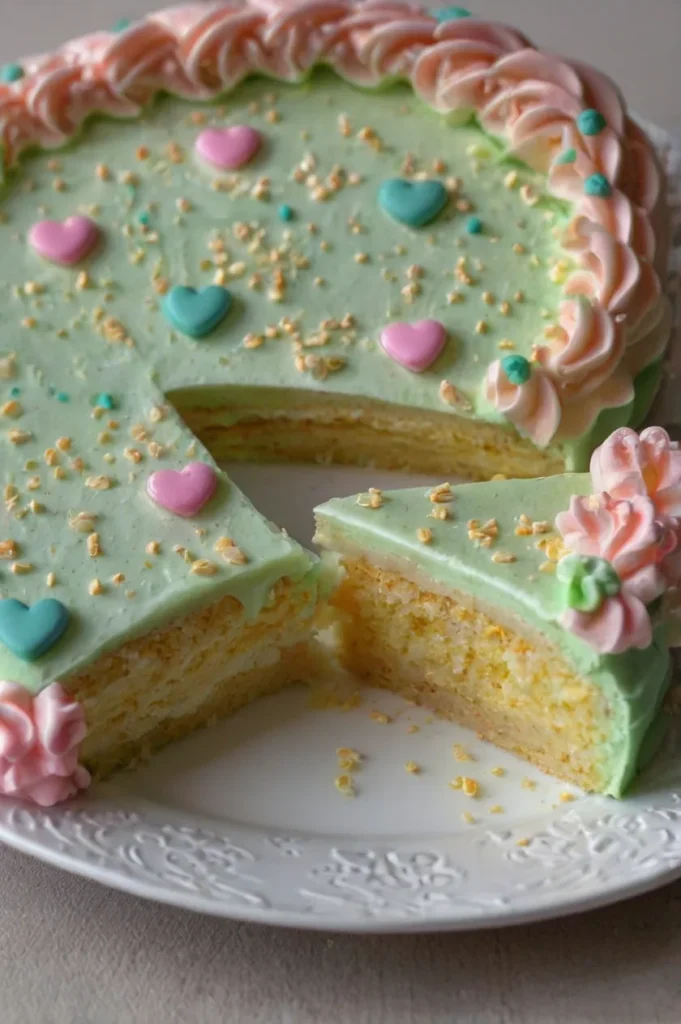
- Prepare the pan: Preheat your oven to 350°F (175°C). Grease and line the bottom of a 9-inch (23cm) springform pan with parchment paper.
- Beat eggs and sugar: In a large bowl, beat the eggs and sugar with an electric mixer on high speed for about 5 minutes until pale, thick, and tripled in volume. The mixture should leave a ribbon trail when the beaters are lifted.
- Add vanilla: Fold in the vanilla extract gently.
- Incorporate dry ingredients: Sift together the flour, baking powder, and salt. Gently fold into the egg mixture in three additions, being careful not to deflate the batter.
- Add butter: Fold in the melted butter just until incorporated.
- Bake: Pour the batter into the prepared pan and smooth the top. Bake for 25-30 minutes, or until the cake is golden and a toothpick inserted in the center comes out clean.
- Cool: Allow the cake to cool in the pan for 10 minutes, then remove from the pan and cool completely on a wire rack.
Vanilla Custard:

- Infuse milk: In a medium saucepan, heat the milk and vanilla bean (if using) until it just begins to simmer. Remove from heat and let steep for 15 minutes. Remove the vanilla bean, scrape the seeds into the milk, and discard the pod.
- Create egg mixture: In a bowl, whisk together the egg yolks, sugar, cornstarch, and salt until smooth.
- Temper eggs: Gradually whisk the warm milk into the egg mixture to temper the eggs.
- Cook custard: Return the mixture to the saucepan and cook over medium heat, whisking constantly, until it thickens and just begins to bubble, about 2-3 minutes.
- Finish custard: Remove from heat and stir in the butter and vanilla extract (if not using a vanilla bean). Transfer to a bowl, cover with plastic wrap directly on the surface to prevent a skin from forming, and refrigerate until completely cool, at least 2 hours.
Assembly:
- Slice cake: Once the cake is completely cooled, slice it horizontally into three even layers.
- Build base layer: Place the bottom layer on a cake board or serving plate. Spread a thin layer of jam evenly over the surface.
- Add custard: Spread half of the chilled custard over the jam layer, leaving a small border around the edge.
- Add middle layer: Place the second cake layer on top and spread the remaining custard evenly over it.
- Whip cream: In a chilled bowl, whip the heavy cream with powdered sugar and vanilla extract until stiff peaks form.
- Create dome: Place the final cake layer on top. Spread a thin layer of whipped cream over the top and sides of the cake. Then, pile the remaining whipped cream on top and shape it into a dome using a spatula or offset knife.
- Chill: Refrigerate the cake for at least 1 hour to set the cream.
- Prepare marzipan: On a surface dusted with powdered sugar, roll out the green marzipan into a circle large enough to cover the cake entirely (approximately 15 inches or 38cm in diameter).
- Cover cake: Carefully drape the marzipan over the cake, gently smoothing it down the sides. Trim excess marzipan at the base.
- Decorate: Shape a small pink marzipan rose for the top. Optionally, melt a small piece of dark chocolate and pipe decorative patterns on the cake.
- Dust: Lightly dust the cake with powdered sugar before serving.
Ingredient Deep Dive
Understanding the role of each ingredient will help you create the perfect Princess Cake and make informed substitutions if needed.
Sponge Cake Components
Eggs: The backbone of the sponge cake, providing structure and lift. For a vegan alternative, consider aquafaba (chickpea liquid) or commercial egg replacers.
Sugar: Adds sweetness and contributes to the cake’s tender texture. You can reduce the quantity slightly, but be aware it affects the structure.
Flour: Provides structure to the cake. For a gluten-free version, substitute with a high-quality gluten-free flour blend that contains xanthan gum.
Baking Powder: Creates lift and lightness. Always ensure it’s fresh for optimal results.
Butter: Adds moisture and richness. For dairy-free options, use a high-quality plant-based butter.
Custard Components
Milk: Creates the base for the custard. Whole milk provides the best richness, but plant-based milks like full-fat coconut or oat milk can be substituted.
Vanilla Bean/Extract: Provides essential flavor. Real vanilla beans offer superior flavor, but extract works well too.
Egg Yolks: Thicken the custard and provide richness. For a vegan alternative, consider using cornstarch or commercial egg replacers designed for custards.
Cornstarch: The primary thickening agent. Arrowroot powder can be substituted at a 1:1 ratio.
Assembly Components
Marzipan: The signature coating for Princess Cake. Traditional marzipan consists of almonds, sugar, and sometimes egg whites. For those with nut allergies, fondant can be substituted, though the flavor profile will change.
Heavy Cream: Creates the dome and filling. For dairy-free alternatives, coconut cream works best, chilled overnight and whipped with a stabilizer like cream of tartar.
Jam: Adds a tangy contrast to the sweet components. Traditional Princess Cake uses raspberry or strawberry jam, but any berry jam works well.
“The quality of your marzipan makes a significant difference in the final cake. Look for brands with at least 50% almond content for the best flavor and pliability.” – Swedish Pastry Chef Gunilla Eriksson
Discover more cakes Recipes
Substitution Guide
| Ingredient | Traditional Option | Dietary Alternative | Notes |
|---|---|---|---|
| Eggs | Chicken eggs | Aquafaba or commercial egg replacer | Aquafaba: use 3 tbsp per egg |
| Milk | Whole milk | Full-fat coconut or oat milk | Coconut may add subtle flavor |
| Heavy Cream | Dairy cream | Chilled coconut cream | Chill coconut milk overnight and use only the solid portion |
| Marzipan | Almond-based | Fondant or seed-based marzipan | Flavor will be different |
| Butter | Dairy butter | Plant-based butter | Choose brands designed for baking |
| Flour | All-purpose | Gluten-free all-purpose blend | Ensure it contains xanthan gum |
Step-by-Step Tutorial
Step 1: Preparing the Sponge Cake
Start with room temperature ingredients for the best volume in your sponge cake. The key technique is to beat the eggs and sugar until they reach the “ribbon stage” – when the mixture falls from the beaters in a thick ribbon that sits on the surface momentarily before sinking.
Step 2: Baking and Cooling
When baking the sponge, resist the urge to open the oven door during the first 20 minutes, as this can cause the cake to collapse. After baking, cool the cake completely before slicing – ideally, wrap it in plastic wrap and let it rest overnight to make slicing easier.
Step 3: Making the Perfect Custard
For smooth custard, strain the mixture after cooking to remove any lumps. The custard should be thick enough to hold its shape when spooned but still spreadable. Patience is key – cook over medium-low heat and stir constantly.
Step 4: Assembling the Layers
When assembling, use a pastry brush to lightly moisten each cake layer with simple syrup (1:1 sugar and water solution) to ensure moisture. Keep a small border (about ¼ inch) free of filling around the edges to prevent overflow.
Step 5: Creating the Dome
The whipped cream dome is a signature element of Princess Cake. For stability, add 1 teaspoon of unflavored gelatin dissolved in 1 tablespoon of hot water (cooled slightly) to the cream before whipping. This helps maintain the dome shape during covering.
Step 6: Working with Marzipan
Roll the marzipan between two sheets of parchment paper dusted with powdered sugar to prevent sticking. For easiest application, roll the marzipan around a rolling pin, then unroll it over the cake. Work quickly as marzipan can dry out.
Step 7: Final Decoration
For the marzipan rose, shape a small ball of pink marzipan into a cone, then flatten and curl one end to form the center of the rose. Add more flattened, thin pieces around this center, pinching at the base to secure.
Troubleshooting Common Princess Cake Problems
Problem: Soggy Cake Layers
Cause: Excess moisture from fillings or cake layers that weren’t completely cooled. Solution: Ensure all components are completely cooled before assembly. Apply a thin layer of melted and cooled white chocolate to the cake layers to create a moisture barrier.
Problem: Cracked Marzipan
Cause: Marzipan rolled too thin, too dry, or cake dome too pointed. Solution: Aim for marzipan thickness of about ⅛ inch. Add a few drops of water or light corn syrup if the marzipan feels dry. Create a smoother, more gradual dome shape with the whipped cream.
Problem: Custard is Lumpy
Cause: Custard cooked too quickly or eggs curdled during cooking. Solution: Use a lower heat setting and strain the finished custard through a fine-mesh sieve. Always temper the eggs by gradually adding the hot milk while whisking.
Problem: Whipped Cream Dome Collapses
Cause: Cream not whipped to stiff enough peaks or cake sitting at room temperature too long. Solution: Whip cream until very stiff peaks form. For extra stability, add 1 teaspoon of unflavored gelatin bloomed in cold water and dissolved in 1 tablespoon hot water (cooled slightly) to the cream before whipping.
Problem: Marzipan Sticks to Everything
Cause: Working surface not properly dusted or marzipan too soft. Solution: Generously dust your work surface and rolling pin with powdered sugar. If your kitchen is warm, briefly chill the marzipan before rolling.
Problem: Uneven Cake Layers
Cause: Improper slicing technique or uneven baking. Solution: Use a serrated knife and a slow sawing motion. For precision, use cake slicing guides or toothpicks inserted halfway up the sides of the cake as markers.
Creative Variations on the Classic Princess Cake
While the traditional green Princess Cake is a classic, there are many delicious variations you can explore.
Flavor Variations
Chocolate Princess Cake: Replace one-third of the flour with cocoa powder in the sponge recipe. Use chocolate custard and cover with chocolate-flavored marzipan (or traditional green for contrast).
Citrus Princess Cake: Add lemon or orange zest to the sponge batter and custard. Use a complementary citrus curd in place of jam.
Berry-Infused: Fold fresh berries into the whipped cream layer and use a coordinating berry jam. Consider matching the marzipan color to your berry theme (e.g., purple for blackberry).
Coffee Princess Cake: Add 1 tablespoon of espresso powder to the sponge cake batter and custard for a coffee-flavored variation.
Discover more cakes Recipes
Dietary Adaptations
Vegan Princess Cake:
- Replace eggs in the sponge with aquafaba or commercial egg replacer
- Use plant-based milk and cornstarch for the custard
- Substitute coconut cream for dairy cream
- Use vegan marzipan or fondant
Gluten-Free Princess Cake:
- Substitute the all-purpose flour with a high-quality gluten-free flour blend
- Ensure all other ingredients are certified gluten-free
- Add ¼ teaspoon xanthan gum if your flour blend doesn’t include it
Reduced Sugar Option:
- Reduce sugar in the sponge by up to 25%
- Use sugar alternatives in the custard
- Select a marzipan with less sugar or make your own with a sugar substitute
Seasonal Adaptations
Spring Princess Cake: Traditional green version with edible flowers as decoration.
Summer Princess Cake: Light blue marzipan with fresh berries incorporated into the layers.
Fall Princess Cake: Warm orange or red marzipan with spices like cinnamon and nutmeg added to the sponge.
Winter Princess Cake: White marzipan dusted with pearlescent powder and decorated with snowflake patterns.
Decoration Ideas for Every Occasion
The beauty of Princess Cake lies not only in its taste but also in its presentation. Here are decorative ideas for various occasions:
Birthday Celebrations
- Add a personalized marzipan plaque with the birthday person’s name
- Create multiple small individual Princess Cakes instead of one large one
- Incorporate edible gold leaf for an extra-special touch
- Add a crown made from marzipan or chocolate for a truly royal touch
Wedding Festivities
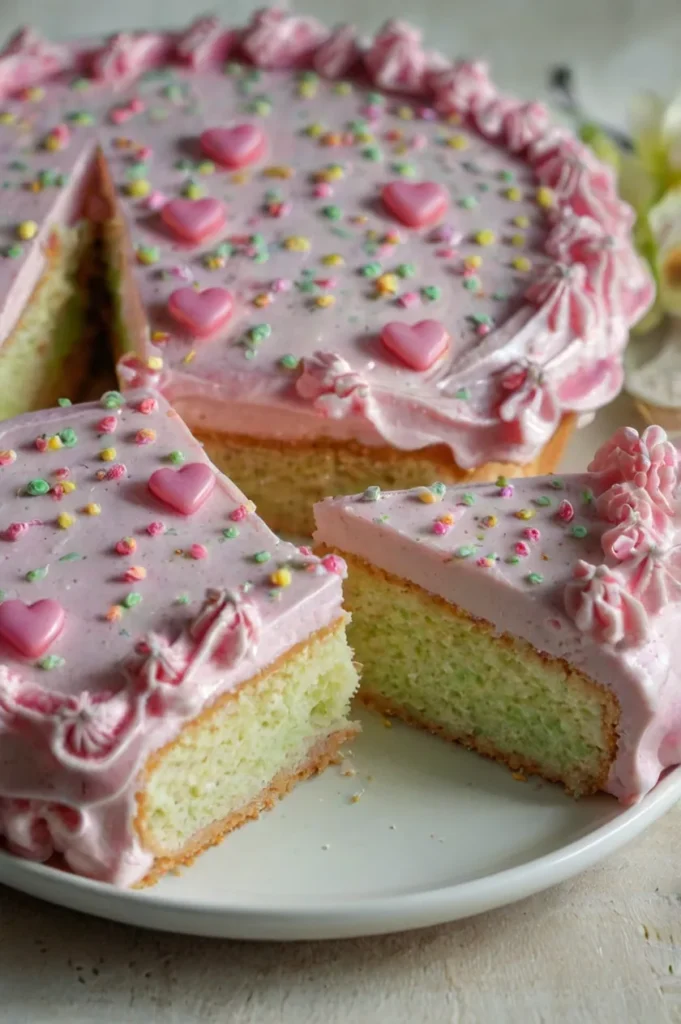
- Create a tiered Princess Cake using progressively smaller cakes
- Decorate with fresh flowers that match the wedding theme
- Use white or ivory marzipan with delicate piped details
- Add monograms or wedding dates using royal icing
Holiday Themes
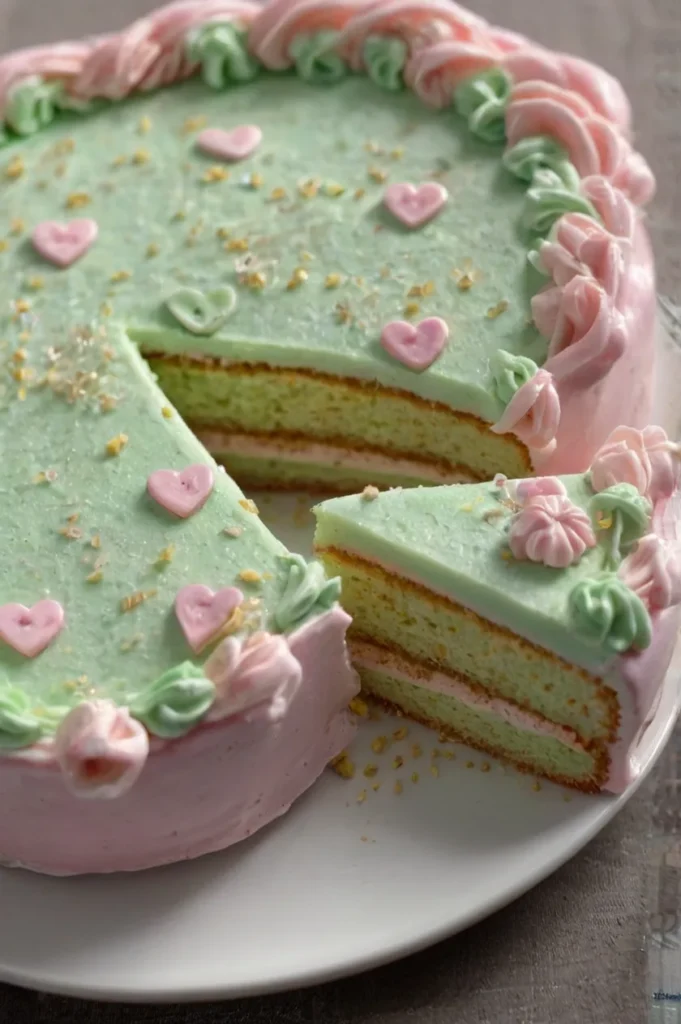
- Christmas: Red marzipan with holly leaf decorations
- Easter: Pastel-colored marzipan with small marzipan eggs
- Halloween: Orange marzipan with spider web designs in chocolate
- Valentine’s Day: Pink marzipan with heart decorations
Children’s Parties
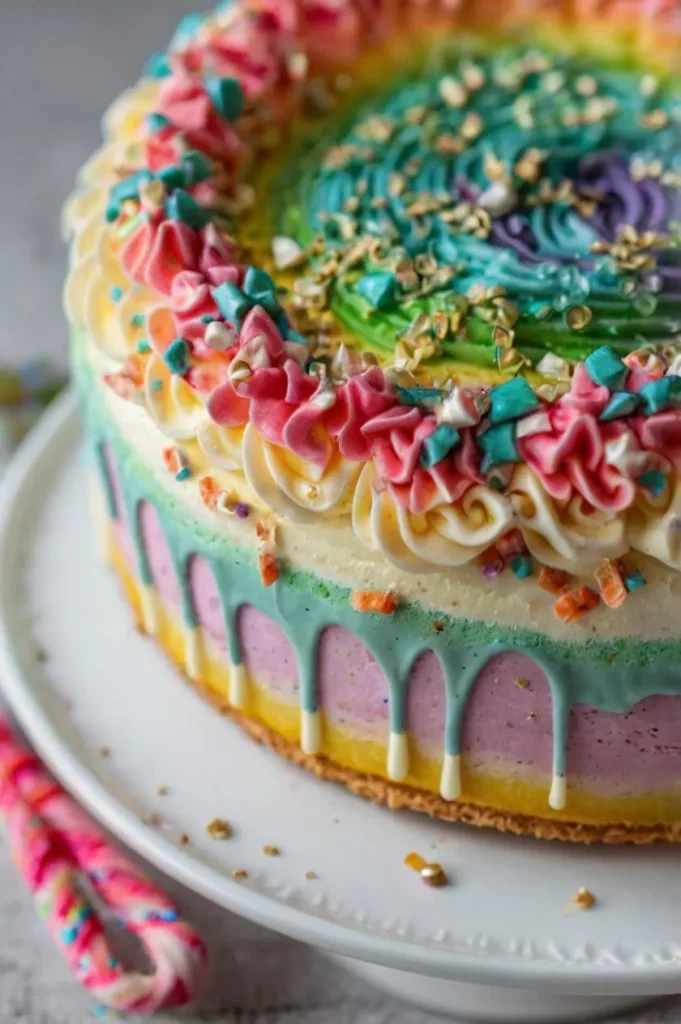
- Character-themed decorations using colored marzipan
- Rainbow-layered sponge inside a traditional exterior for a surprise element
- Add sprinkles between layers for fun texture and color
- Create miniature princess crowns as toppers from colored chocolate or marzipan
Storage and Serving Guide
Proper storage is crucial for maintaining the freshness and integrity of your Princess Cake.
Storage Times
- Unfrosted Components: Sponge cake layers can be wrapped tightly and frozen for up to 1 month. Custard can be refrigerated for up to 3 days.
- Assembled Cake Without Marzipan: Can be refrigerated for up to 24 hours before applying marzipan.
- Completed Princess Cake: Best consumed within 2-3 days of assembly. Store refrigerated.
Storage Methods
- Refrigeration: Store the completed cake in the refrigerator in a cake dome or large container to protect it from absorbing other flavors. The marzipan helps seal in moisture, but additional protection is beneficial.
- Short-term Storage: For a few hours, the cake can remain at cool room temperature (below 70°F/21°C).
- Freezing: While not ideal, you can freeze individual slices by wrapping them tightly in plastic wrap and then aluminum foil. Thaw in the refrigerator overnight before serving.
Serving Recommendations
- Remove the cake from the refrigerator 30-60 minutes before serving to allow it to reach a temperature where flavors are most pronounced.
- Use a sharp knife dipped in hot water and wiped clean between cuts for the cleanest slices.
- Traditional serving size is a fairly thin wedge (about 1-inch wide at the outer edge) as the cake is rich.
- Serve with fresh berries and a light dusting of powdered sugar for an elegant presentation.
- Pair with a cup of coffee or tea in the traditional Swedish fika style.
“Princess Cake should be served at cool room temperature, not cold from the refrigerator. This allows the marzipan to soften slightly and the flavors to fully develop.” – Swedish Pastry Tradition
Essential Equipment Guide
Having the right tools makes creating Princess Cake significantly easier. Here’s what you’ll need:
Basic Equipment
- 9-inch (23cm) springform pan or cake pan with removable bottom
- Stand mixer or hand mixer with whisk attachment for achieving proper volume in eggs and cream
- Offset spatula for spreading custard and creating the dome shape
- Cake turntable for ease of frosting and marzipan application
- Sharp serrated knife for evenly slicing cake layers
- Pastry brush for applying simple syrup if desired
- Medium saucepan for preparing custard
- Whisk for mixing custard ingredients
- Fine-mesh sieve for straining custard
- Rolling pin for marzipan
- Ruler or measuring tape for ensuring adequate marzipan coverage
Optional but Helpful Tools
- Cake leveler for perfectly even layers
- Cake boards for transportation and presentation
- Piping bags and tips for chocolate decorations
- Digital kitchen scale for precise measurements, especially for the marzipan
- Cake dome for storage
- Silicone mat for rolling marzipan
Specialized Equipment for Advanced Decorating
- Small fondant or gum paste tools for shaping the marzipan rose
- Petal dust or luster dust for adding shimmer to decorations
- Small paint brushes (food-safe) for applying dusts or food coloring
- Textured mats for imprinting designs on marzipan
- Silicone molds for creating consistent decorative elements
Princess Cake FAQs
General Questions
Q: Why is Princess Cake traditionally green? A: The green color is traditional and symbolizes spring in Swedish culture. However, the original recipe by Jenny Åkerström didn’t specify a color. Today, you can find Princess Cakes in various colors, though green remains the classic.
Q: How far in advance can I make Princess Cake? A: For best results, Princess Cake should be consumed within 2-3 days of assembly. You can prepare components (sponge, custard) ahead of time and assemble closer to serving.
Q: Is Princess Cake difficult to make? A: It’s intermediate level – requiring several steps and some patience, but not advanced pastry techniques. Breaking the process into stages over 2-3 days makes it more manageable.
Ingredient Questions
Q: Can I use store-bought components to save time? A: Yes! You can use a store-bought sponge cake or genoise, vanilla pudding (thickened with a bit of gelatin), and pre-made marzipan. This significantly reduces preparation time.
Q: What type of marzipan is best for Princess Cake? A: Look for marzipan with at least 50% almond content for the best flavor and pliability. Avoid almond paste, which is too soft for covering the cake.
Q: Can I make Princess Cake without marzipan? A: While not traditional, you can cover the cake with fondant or a simple whipped cream frosting. However, the marzipan provides both flavor and the characteristic appearance.
Technique Questions
Q: How do I prevent air bubbles when covering with marzipan? A: Work from the center outward, gently smoothing the marzipan with your hands or a fondant smoother. Prick any air bubbles with a thin needle and smooth the area.
Q: Why did my custard not thicken properly? A: The custard may need more cooking time, or the heat might have been too low. Ensure you’re using the correct amount of cornstarch and egg yolks, which provide thickening power.
Q: How can I get a perfectly smooth dome? A: Use an offset spatula dipped in hot water and wiped dry to smooth the whipped cream. Rotate the cake on a turntable as you work for the most even results.
Conclusion: Embracing the Princess Cake Tradition
Creating a Princess Cake is more than just baking—it’s participating in a rich culinary tradition that spans nearly a century. The combination of light sponge, creamy custard, fresh whipped cream, and sweet marzipan creates a dessert that’s both visually stunning and delightfully balanced in flavor.
Whether you’re making Princess Cake for a special occasion or simply to experience this Swedish classic, the process offers a rewarding baking challenge that results in a truly impressive dessert. By understanding the components, mastering the techniques, and adding your personal touch, you can create a Princess Cake worthy of royalty.
Remember that practice makes perfect—your first Princess Cake might not look like it came from a professional bakery, but it will almost certainly taste delicious. Each time you make this special cake, you’ll refine your skills and develop your own signature approach to this beloved classic.
So gather your ingredients, prepare your workspace, and embrace the wonderful tradition of Princess Cake baking. Your royal dessert adventure awaits!
What’s your experience with Princess Cake? Have you tried making it at home or enjoyed it at a Swedish bakery? Share your stories and questions in the comments below!

